AC Tune-Up Checklist for DFW Homeowners:
What Gets Done and Why It Matters
No Sweat Experts | Frisco, Prosper, Celina, McKinney, Allen, Plano, Dallas | TACLA Licensed | EPA Certified
In North Texas, your air conditioner doesn’t ease into summer. One week it’s 75°F, and three weeks later you’re staring down a heat index of 108°F with no warning.
When that first real heat wave hits DFW—and it always arrives faster than you expect—your system is either ready or it isn’t. A professional AC tune-up is how you make sure it’s ready.
But not all tune-ups are equal.
A 20-minute windshield check isn’t a tune-up. Spraying the coil with a hose and calling it done isn’t a tune-up. A real maintenance visit is a systematic, head-to-toe inspection of every major component in your system—with measurements, not just visual checks.
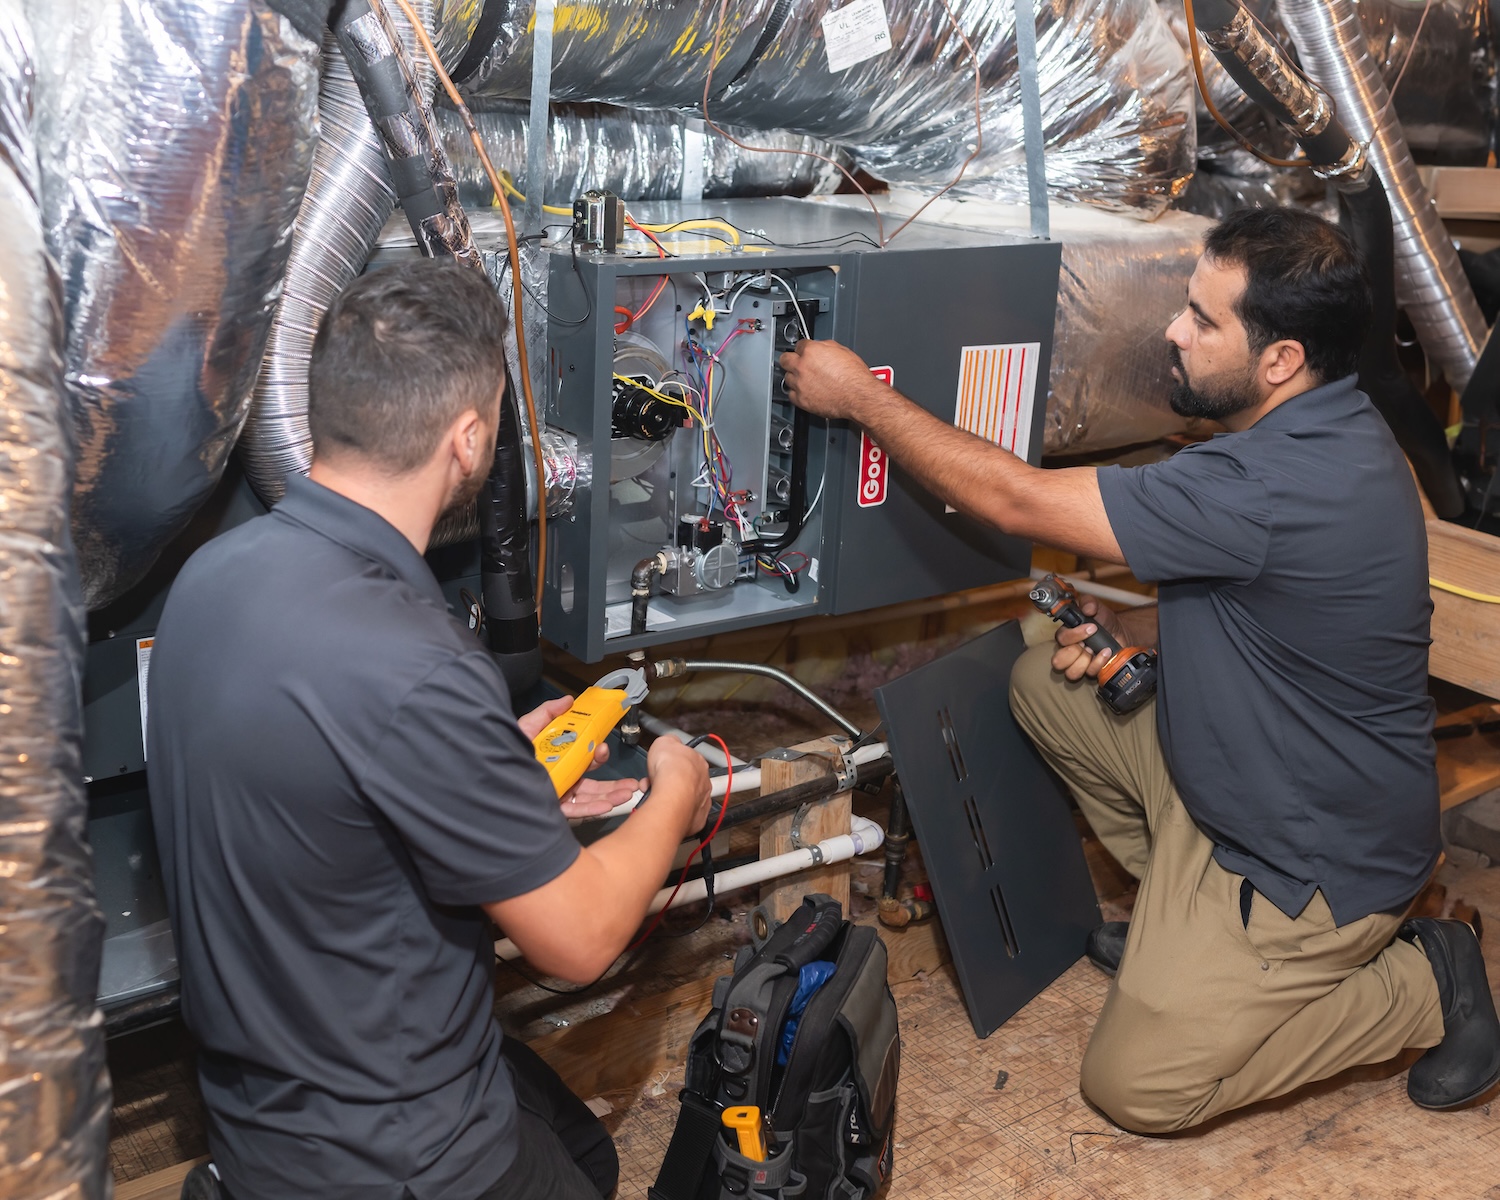
At No Sweat, our maintenance visits run approximately one hour per system. We work through a documented checklist—the same form on every job—covering the condensing unit, the evaporator coil, the air handler or furnace, the blower, the drainage system, and the thermostat. Every component gets evaluated and rated. You get a written report when we’re done.
Here’s exactly what that looks like—and why each step matters.
Why April and May Are the Right Time for a Tune-Up in DFW
Most HVAC failures in North Texas happen on the hottest days of the year—not because the system suddenly broke, but because a small problem that could have been caught in April became a critical failure in July.
A capacitor that’s reading low in May will likely fail under the stress of 105°F ambient temperatures in August. A slightly dirty condenser coil that reduces efficiency by 10% in spring will reduce it by 25% or more when the system is running hardest.
Tune up in the spring.
Don’t wait for the heat.
Part 1: The Condensing Unit (Outdoor Unit)
The condensing unit is where your system sheds the heat it pulls out of your home. It works hardest in the worst conditions—sitting outside in direct Texas sun, running for hours at a stretch when it’s 100°F. This is where most failures originate, and it’s where a thorough tune-up starts.
Fan Motor Amp Draw
Every motor has a manufacturer-rated amp draw—the amount of electrical current it should pull under normal operation. We measure the actual amp draw and compare it to the rated spec.
A motor drawing significantly less than rated may be on its way out. A motor drawing more than rated is overworking—often due to a failing capacitor, a dirty coil, or a bearing problem. Either condition gets flagged before it becomes a breakdown.
Compressor Amp Draw
The compressor is the most expensive component in your system—often $1,500 to $2,500 in parts alone, plus labor.
We measure the compressor amp draw on every visit and compare it to the manufacturer’s rated specification.
A compressor drawing well below rated amps is a system running efficiently. One drawing at or above its rated limit is under stress and needs attention.
This single measurement has saved more than a few of our customers from a mid-summer compressor failure. Addressing the issue in May can avoid delays in the heat of the summer when every AC company in the area is booked four days out.
Capacitor Testing
Capacitors are small cylindrical components that give the fan motor and compressor the electrical “kick” they need to start and run. They’re one of the most common failure points in any AC system—and one of the most preventable.
Each capacitor has a manufacturer-rated MFD (microfarad) value. We measure the actual MFD with a meter.
A capacitor reading 5% or more below its rated value is weakening and will likely fail under heat stress.
On a standard system, a capacitor replacement runs $150–$250. A compressor that fails because of a weak capacitor can cost $3000 or more. This is one of the clearest examples of why maintenance pays for itself.
Contactor Inspection
The contactor is the electrical switch that tells your system to turn on and off.
We check for three specific failure indicators:
- chattering (an audible buzzing that signals the contacts are struggling)
- pitting on the contact surfaces from repeated electrical arcing
- loose wiring
A pitted or chattering contactor is an intermittent failure waiting to happen—the system may work fine on mild days and fail on the hottest afternoon of the year.
Disconnect Box and Electrical Whip
We verify that the disconnect box—the weatherproof electrical box mounted near the outdoor unit—actually interrupts power when pulled.
We also inspect the electrical whip (the flexible conduit connecting the disconnect to the unit) for UV damage and loose or corroded connections.
In North Texas, UV exposure degrades outdoor electrical components faster than most other climates. We see failed whips on systems that look fine everywhere else.
Thermostat Wire Condition
The low-voltage thermostat wire runs from the indoor unit to the outdoor unit and controls the entire system’s operation.
We inspect the casing for damage, rodent activity, and corrosion at the terminals.
A damaged thermostat wire can cause intermittent operation, incorrect staging, or a complete no-cool condition—and it’s frequently misdiagnosed as a more expensive problem.
Condenser Coil Cleaning
The condenser coil is the large finned surface that wraps around the outside of your outdoor unit. It releases the heat your system pulls from inside your home.
When it’s dirty—caked with cottonwood, grass clippings, or dust—the system can’t shed heat efficiently. That forces the compressor to work harder, raises pressures, and shortens component life.
We note the condition on arrival, clean the coil as part of the visit, and document it with before and after photos.
The side of the unit closest to your home almost always needs the most attention—it’s the side most homeowners never think to check.
Refrigerant Charge Verification
This is the most technically involved part of the outdoor unit inspection—and the one most commonly skipped by companies doing quick tune-ups.
We connect gauges and measure four data points:
- Suction line temperature and pressure (the large insulated line returning to the outdoor unit)
- Liquid line temperature and pressure (the smaller copper line leaving the outdoor unit)
- Subcooling (how much the refrigerant is cooled below its condensing point—tells us if the charge is correct on the high side)
- Superheat (how much the refrigerant is heated above its evaporating point—tells us if the charge is correct on the low side)
We record these measurements upon arrival and again before we leave. Both sets are documented in your report.
A system that’s slightly low on refrigerant will run inefficiently and struggle on hot days. A system that’s overcharged is at risk of compressor damage. Neither condition is visible without gauges—which is why skipping this step isn’t really a tune-up at all.
A Note on Refrigerant Pricing
You may have heard that R-410A refrigerant is expensive or hard to find. We covered this in detail in our refrigerant transition guide.
The short version: R-410A remains available for servicing existing systems. If your system needs a small adjustment, that’s a routine repair—not a reason to replace the system. If your system has a significant refrigerant loss, we’ll identify the leak source and give you honest options.
Part 2: The Refrigerant Line Set
The line set is the pair of copper lines that connect your outdoor unit to the indoor coil—one carrying refrigerant to the house, one returning it.
It’s easy to overlook because it’s mostly out of sight, but problems here affect the whole system.
We check for three things:
- kinks in the copper lines that restrict refrigerant flow
- correct line sizing matched to the manufacturer’s specification
- the condition of the insulation on the suction line
UV-damaged or missing insulation on the suction line causes the line to absorb heat from the surrounding air—reducing efficiency.
Part 3: The Evaporator Coil (Indoor Coil)
The evaporator coil sits inside your home—typically above the furnace or inside the air handler. This is where the actual cooling happens.
Warm air from your home passes across the cold coil, the coil absorbs the heat, and cooled air continues into your duct system.
Temperature Split (Delta T)
The most direct measurement of how well your system is cooling.
We measure:
- return air temperature (the warm air entering the system)
- supply air temperature (the cooled air leaving the coil)
The difference between the two is called the Delta T, or temperature split.
A properly operating system should produce a temperature split of roughly 16–22°F under normal conditions.
On the example job shown in our documentation, the system pulled in air at 72°F and delivered it at 48°F—a 24°F split, indicating a well-charged, efficiently operating system.
A split below 14°F typically indicates a problem: low refrigerant, a dirty coil, or an airflow restriction.
We take this measurement upon arrival and again before we leave, so you can see whether any work we did changed system performance.
Note that there is a lot of variance in this number. It is affected by the outdoor temperature, indoor temperature, and the location where the temperature is measured.
Evaporator Coil Condition and Cleaning
A dirty evaporator coil is one of the most common causes of reduced cooling performance in DFW homes.
We rate the coil condition on arrival and clean it when needed.
We use a three-level cleaning classification:
- Level 1 cleaning is included in a standard maintenance visit
- Levels 2 and 3 are quoted separately
We tell you what level you’re at before we start.
Metering Device
The metering device controls how refrigerant flows into the evaporator coil.
Most modern systems use a TXV (thermostatic expansion valve), which modulates refrigerant flow based on system demand.
We verify the correct metering device is present and operating normally.
Part 4: The Drainage System
As your AC cools the air, it also removes humidity—which condenses on the evaporator coil and drains away as water.
We check every component of the drain system on every visit:
- Primary drain line: Is it draining freely? Is it properly sloped?
- Secondary (emergency) drain line: Alerts you when the primary is blocked
- Emergency drain pan: Present and in good condition?
- Ceiling saver kit (float switch): Shuts system off when water backs up
We also check for a proper P-trap.
Part 5: The Air Handler or Furnace
Blower Motor Amp Draw and Condition
We measure amp draw and inspect:
- blower wheel
- vibration
- dust buildup
Fan speed settings are verified.
Filter
We check and replace the filter.
- 1-inch filters: every 1–3 months
- 4-inch filters: every 4–6 months
Part 6: The Thermostat
We check:
- Battery condition
- Wire connections
- Time and date
- Level
- Two-stage and variable speed wiring
What You Get When We Leave
Every No Sweat maintenance visit ends with a documented report covering every item above.
- Green = no concern
- Yellow = monitor or needs attention
- Red = needs immediate attention
No pressure. No manufactured urgency.
What a No Sweat Maintenance Visit Covers — At a Glance
Condensing Unit (Outdoor):
Fan motor amp draw • Compressor amp draw • Capacitor testing • Contactor inspection • Disconnect and electrical whip • Thermostat wire • Condenser coil cleaning • Full refrigerant charge verification
Line Set:
Kinks • Line sizing vs. manufacturer spec • Insulation condition
Evaporator Coil (Indoor):
Temperature split (Delta T) • Coil condition and cleaning • Metering device
Drain System:
Primary drain • Emergency drain • Drain pan • Float switch (ceiling saver)
Air Handler / Furnace:
Blower amp draw • Blower wheel condition • Fan speed settings • Filter replacement
Thermostat:
Batteries • Wire connections • Settings • Staging configuration
Approximately one hour per system. Written report with photos provided at completion.
Ready to Schedule Your Spring Tune-Up?
We serve homeowners across Frisco, Prosper, Celina, McKinney, Allen, Plano, Dallas, Garland, and surrounding DFW communities, as well as the Austin metro.
We work Monday through Saturday with same-day availability. No emergency surcharges.
Our standard diagnostic fee is $79. If you’re coming to us because another company told you your system needs to be replaced, a second opinion is always free.
Don’t wait for the August breakdown. Schedule your tune-up now while there’s still time to catch problems before peak season.
No Sweat Experts | DFW & Austin Metro | TACLA Licensed | EPA Certified | Monday–Saturday, Same-Day Delivery